I’ve always wanted that sweet, tactile control over my computer’s volume. Adjusting Discord volume, lowering Spotify, or muting Brave was a pain. I had to dig through a few menus to access the mixer. It was annoying, and I wanted physical controls. Something like the ones in those high-end amplifiers.
So, I decided to build one. I figured I’d grab an open-source project called deej, wire up some knobs to an Arduino from China, and call it a day.
I had no idea at the time of starting this project that I would end up neck-deep in a never-ending rabbit hole. Here is how what was supposed to be two volume knobs ended up as something that could do a bit more, and how it nearly drove me insane along the way.
Chapter 1: The Potentiometer Era (and the BSODs)
It started innocently enough. I wired up an Arduino Uno with two cheap potentiometers. The idea was simple: read the analog values, send them over serial, and let deej translate that into Windows audio levels.
At first, it worked just fine. So I glued the potentiometers to the base of my custom laptop stand and plugged it in. For about 5 hours, it worked perfectly!
And then it happened. My computer blue-screened. I didn’t really give it much thought and just rebooted the PC and went on. And the next day, another blue screen. Still, I let it slide. And 30 minutes later, another blue screen.
Concerned, I fired up BlueScreenView, and there it was: CH341S64.SYS. I was relieved to see that my laptop was fine and it was that Chinese Arduino that was the culprit.
I thought a $2000 computer could handle a $3 microcontroller sending a few sets of numbers. But apparently, Windows 11 and the legacy 2019 CH341 driver hated each other. The driver version I was using was notorious for throwing Blue Screens.
The “fix” was simple. Update to the 2024 driver, but that completely breaks deej because the new driver was much stricter about serial handshaking. I had the entire machine crashing over a volume knob, and I was completely fed up. I ripped the Uno out. It was time for a drastic rethink.
Chapter 2: The Hardware Pivot
I swapped the Uno for an ESP32 WROOM (38-pin) module. Instead of scratchy analog potentiometers, I moved to four digital rotary encoders. Encoders give you infinite, precise digital steps. No dead zones, no jitter.
To make sure the ESP32 never missed a step, even if I spun the knobs violently, I tapped into the ESP32’s hardware Pulse Counter (PCNT). The silicon handles the math in the background, leaving the CPU completely free.
And best of all, since this ESP32 was genuine, there were no more CH341 driver shenanigans to deal with.
Chapter 3: Wrangling the Code in Go
Now that I sorted out the hardware and fixed the problems, I still wanted to fix the open-source deej client to play nice with the 2024 drivers.
I forked the source code, cloned it into my IDE, and went to work. The solution was dead simple. I only had to add a small delay before deej started looking for data. That delay allows the handshake to settle and makes all the difference.
That means the 2024 driver version would work, and the blue screens should stop. I tested it and opened a pull request in the hopes that someone else does not face this problem again.
Chapter 4: Feature Creep is a Feature
Since I had stable hardware and the processing power, I started bolting things on.
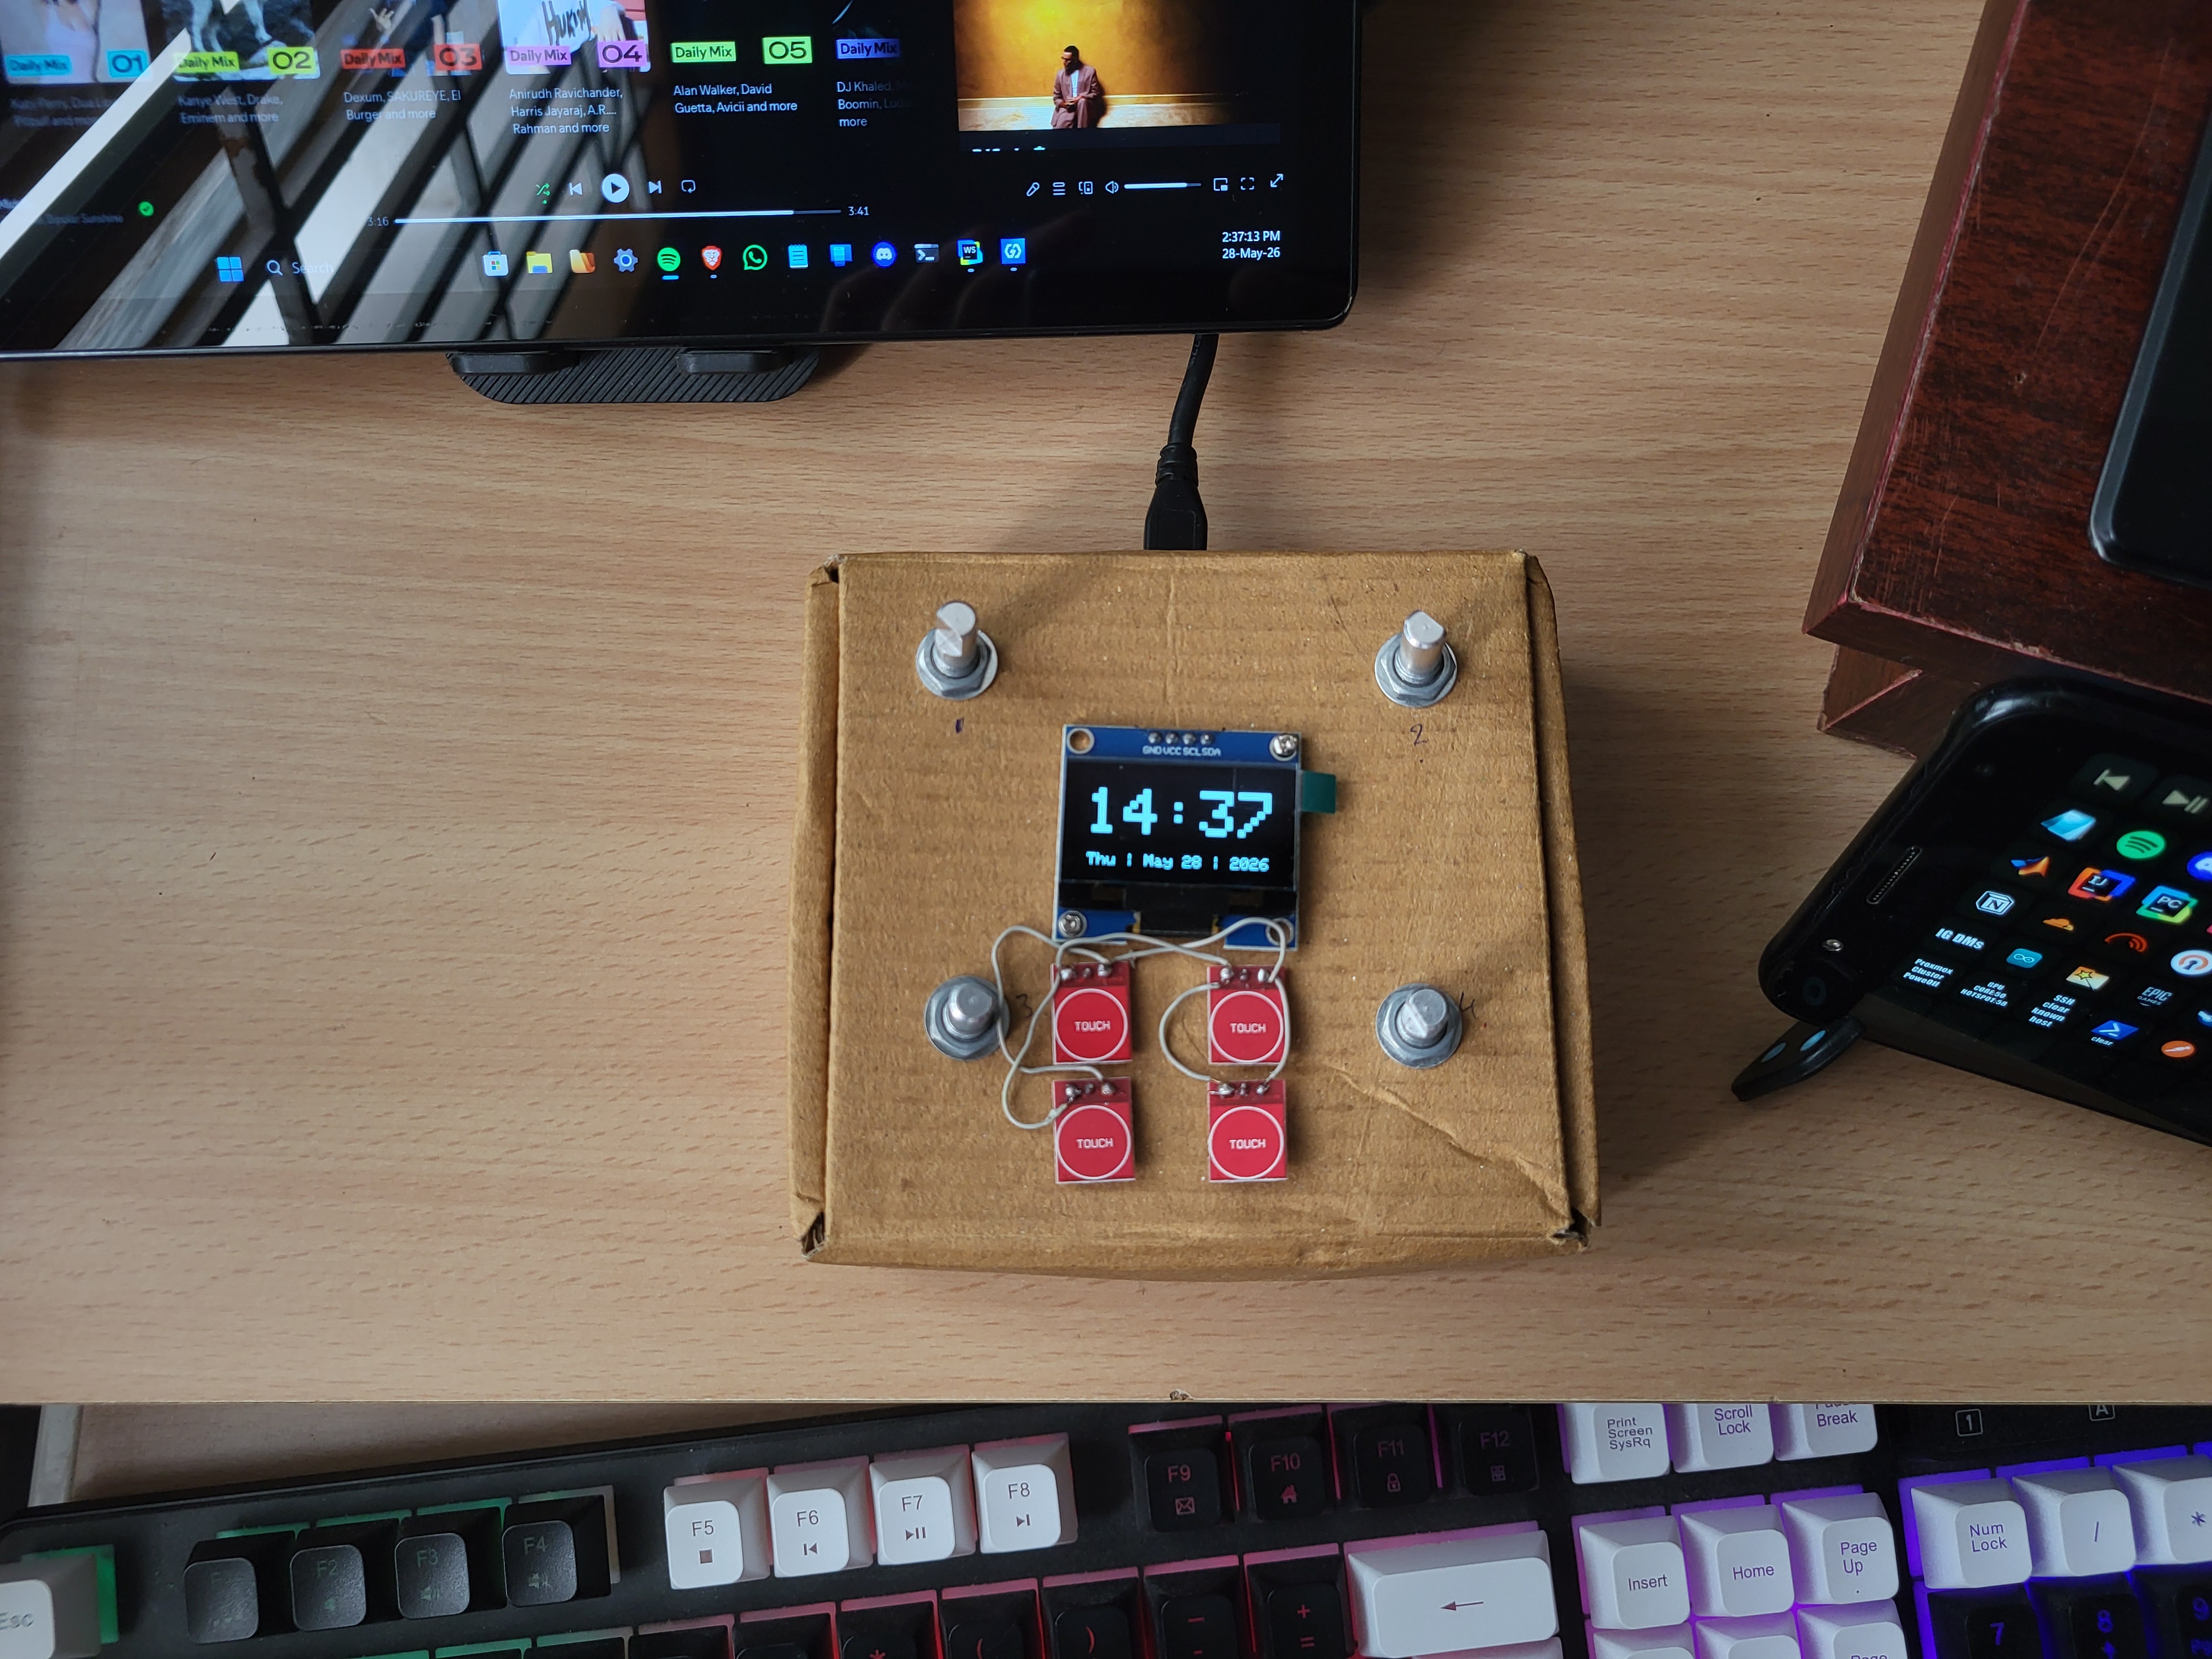
- The OLED: I added a 1.3-inch OLED screen to give me visual feedback.
- The Mute Click: I programmed the encoder buttons to act as mutes. Press a knob, and it instantly drops the channel to 0 and displays
[MUTED]on the screen. - The Clock: When I’m not adjusting the volume, the screen shouldn’t just be static. I hooked the ESP32 up to my WiFi to pull the time from an NTP server. Now, after one second of inactivity, the screen smoothly snaps back to a bold, full-screen digital clock with the current date.
- Capacitive Touch Buttons: Adds even more possibilities.
- The Control Mode: With a press of a button, the volume knobs turn into zoom, horizontal scroll, and vertical scroll, making my life in 3D workflows a tiny bit easier.
Chapter 5: The Ultimate Hack (VSPE + Python)
With the hardware packed into a little cardboard box, it was time to make the software.
As I wanted to also include the control mode, I still had to figure out how to make that work with deej. But deej only understands volume. It strictly expects a format like 512|1023|0|800, and I needed to send another identifier to know the mode.
So, I built a middleware layer.
I set up a Virtual Serial Port Emulator (VSPE). Instead of the ESP32 talking directly to deej, it talks to a Python script. It reads the mode and the knob states, then parses them into deej’s language and sends them to deej via a Virtual Serial Port.
That same script also takes over when I switch to control mode. It uses the pynput library to emulate the HID device and gives me those scrolling and zooming functions.
Now, at the press of a button, I can go from adjusting volume to scrolling and zooming, and it is an absolute game-changer for anything 3D. CAD feels so much better.
What’s Next?
Right now, the whole contraption is living in a cardboard box on my desk. It looks like a science fair project, but it functions flawlessly. I can see the time, adjust my volume without crashing my PC, and switch modes to zoom around my CAD software.
The next step? Firing up Fusion, designing some knobs, and a case.
I will someday machine some aluminum knobs and make an enclosure out of wood. Until that day, the cardboard should do.